🍂Fall is here! The weather is getting cooler, leaves are changing and life is busier than ever – personally speaking.
We’ve added an exchange student from Brazil to our family and we are thrilled to have her here and showing her the beauty and wonder of the United States and Northern Arizona specifically.
It also means school drop off and pick up and lots of activities. That means I need to get back to food prep and making sure we all have healthy, delicious foods at the ready. Bonus points is that she is very health-conscious and loves the way we cook and eat so there’s been no shock to her system. 🤪
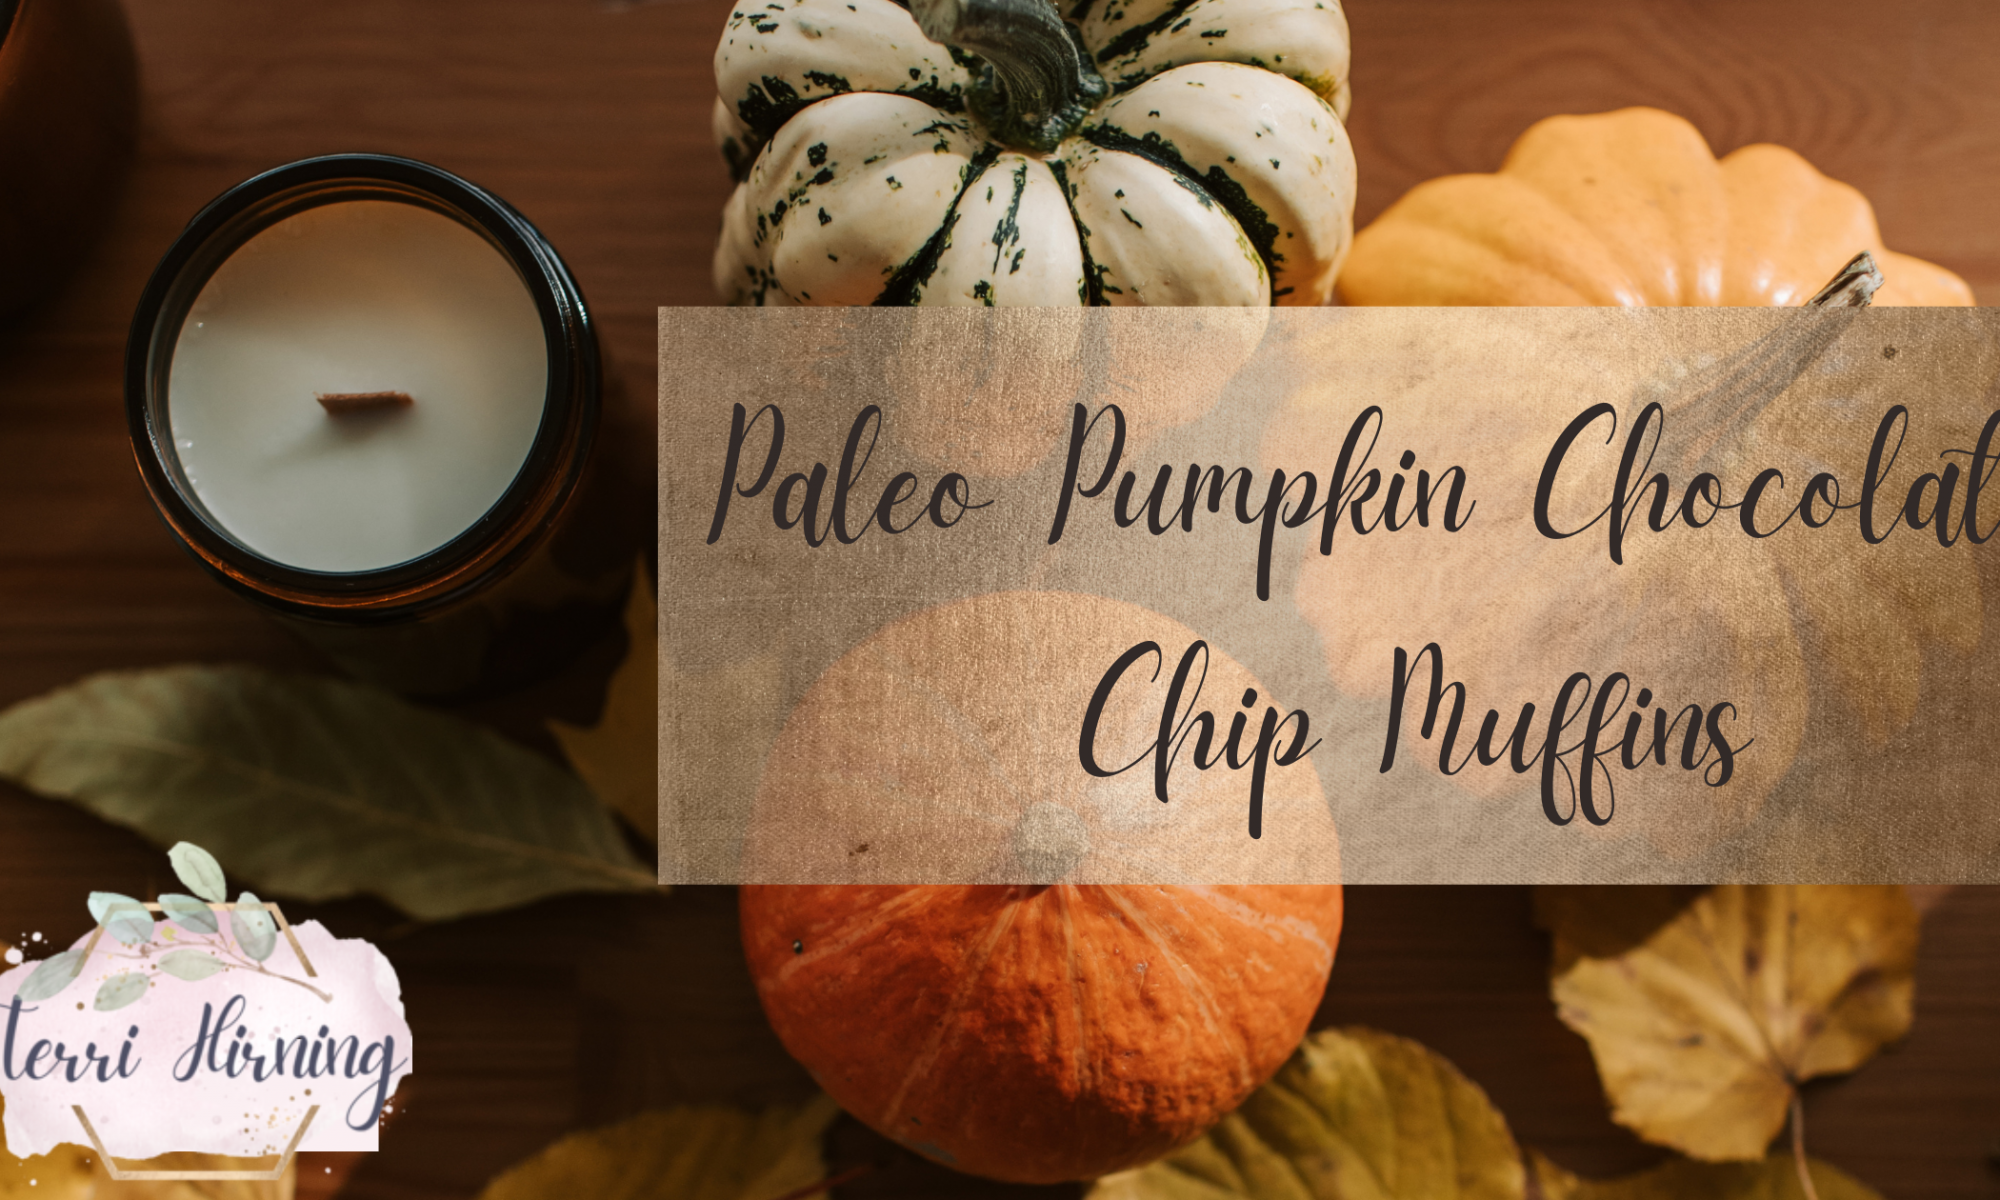
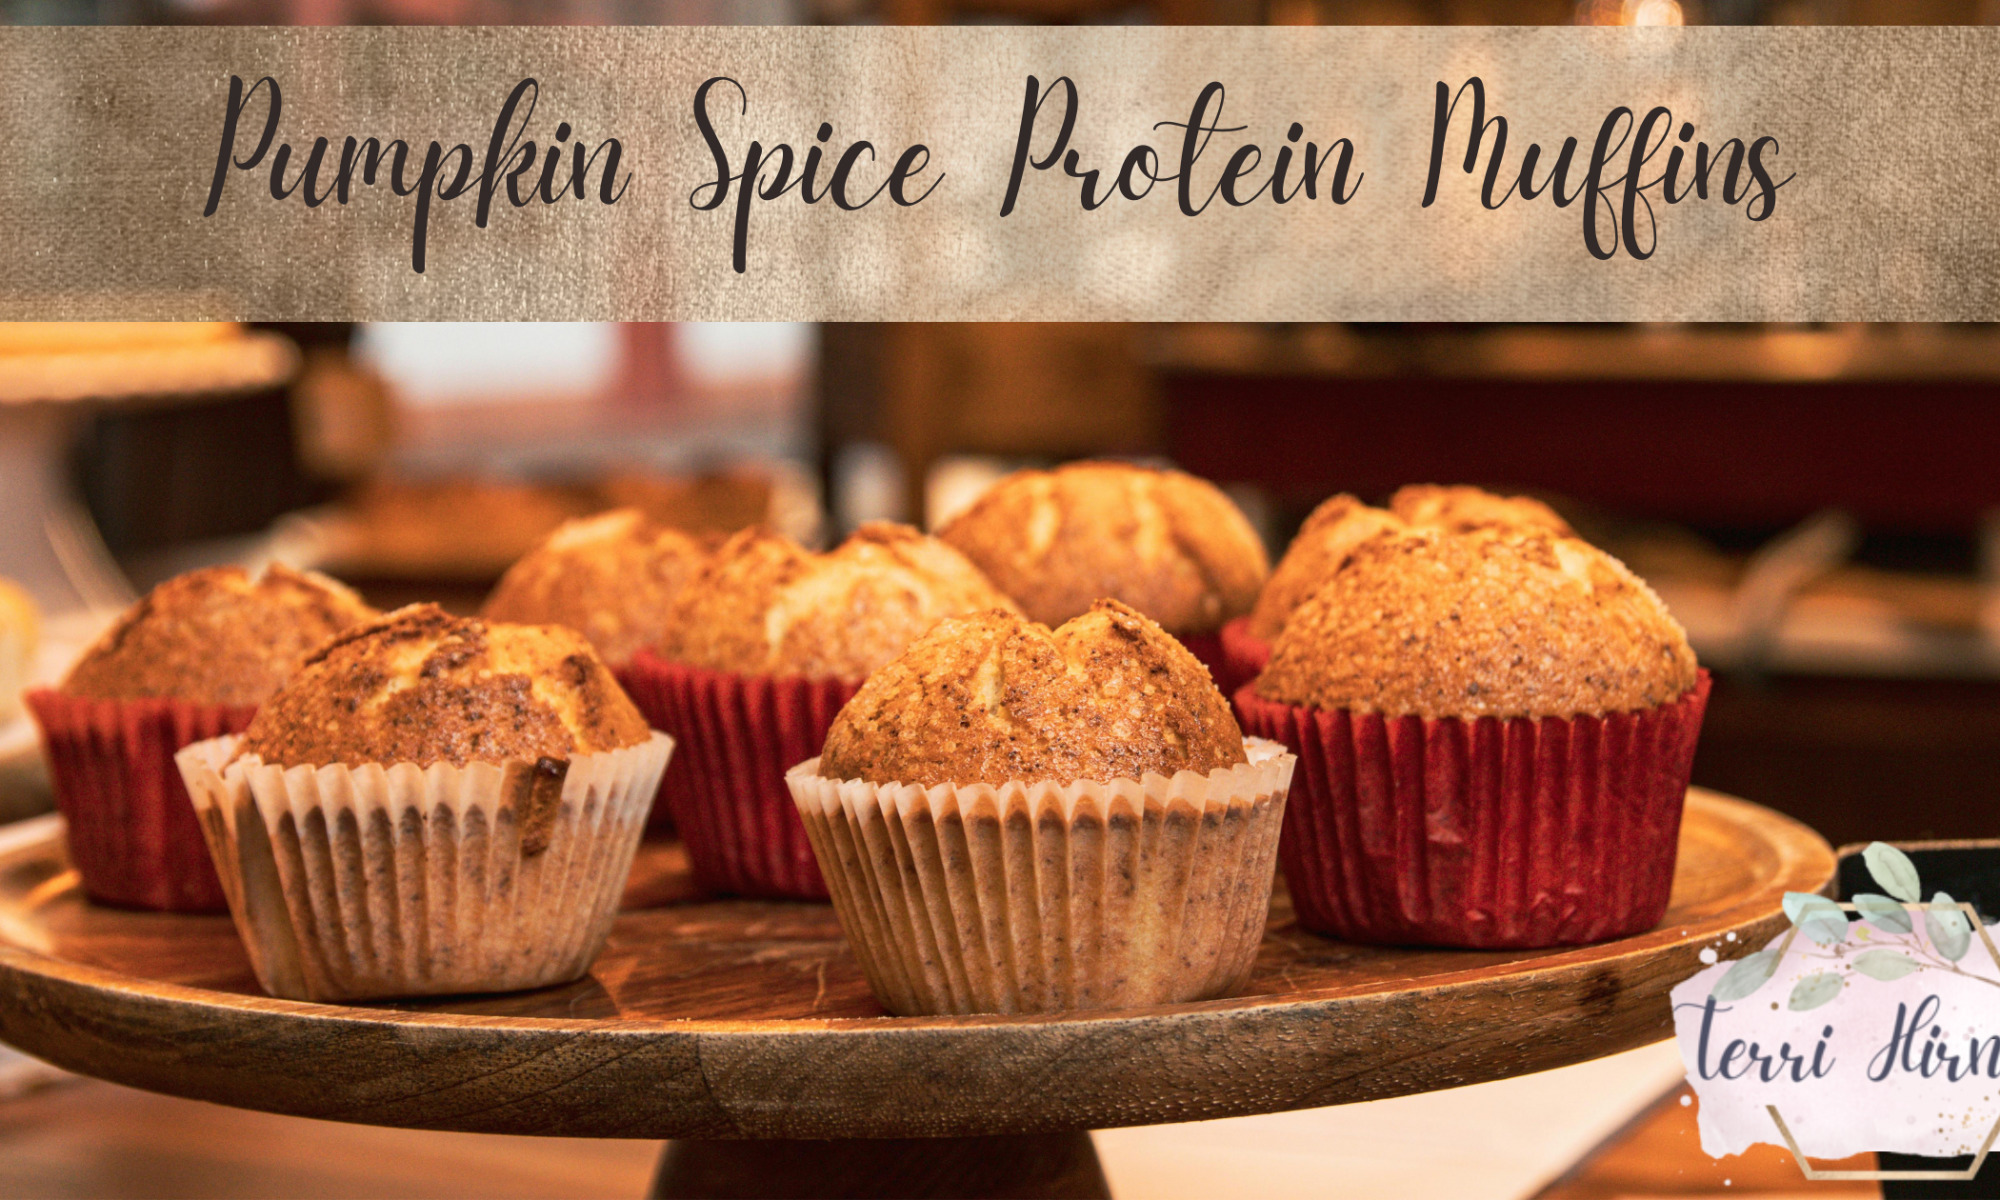
Enter Pumpkin Spice Protein Muffins!
These muffins are packed with fiber, protein, and antioxidants — the perfect balance of comfort and nutrition. They make a great on-the-go breakfast or post-workout snack.
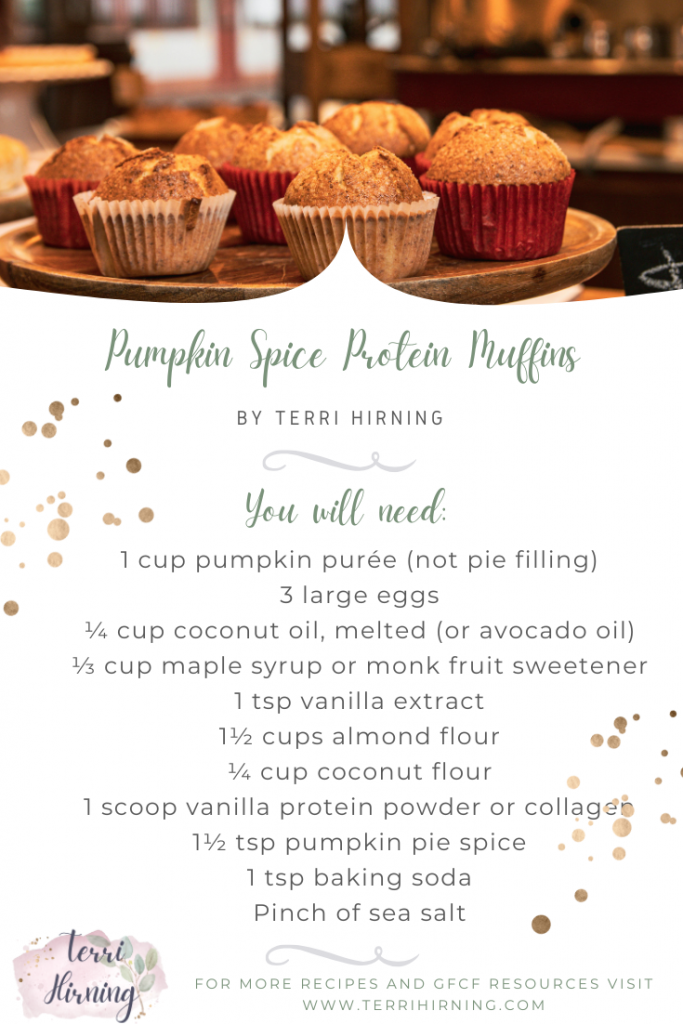

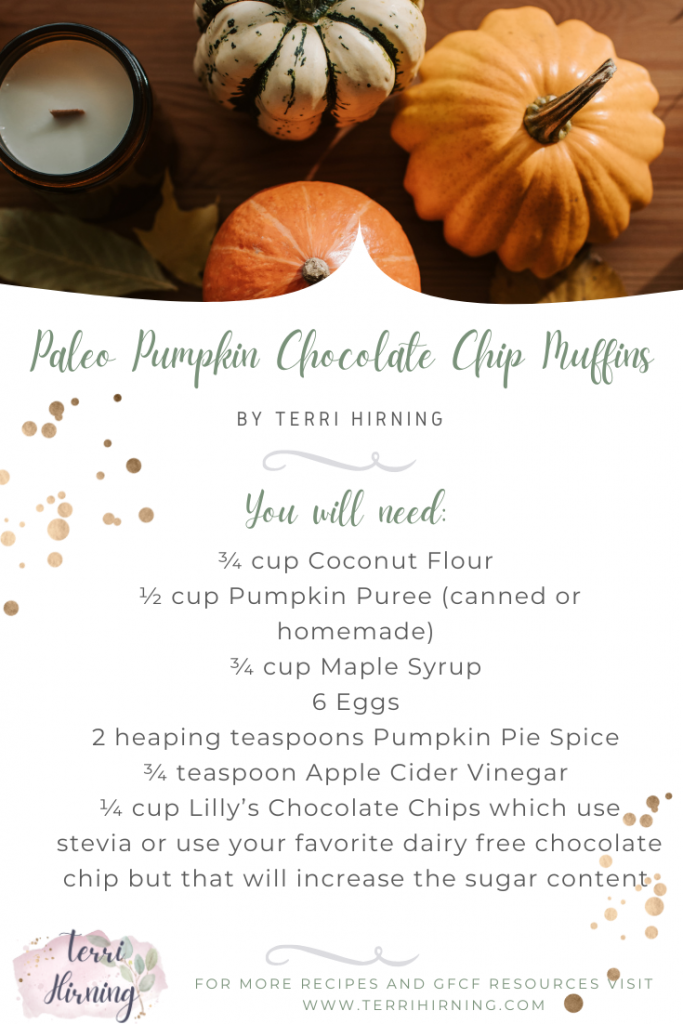
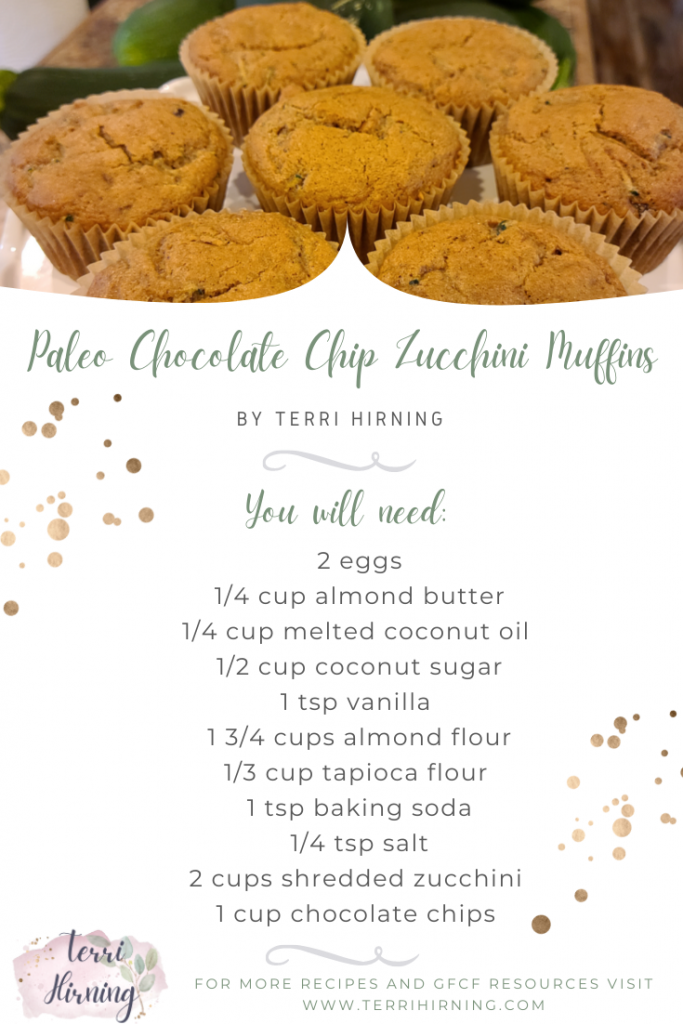
Ingredients:
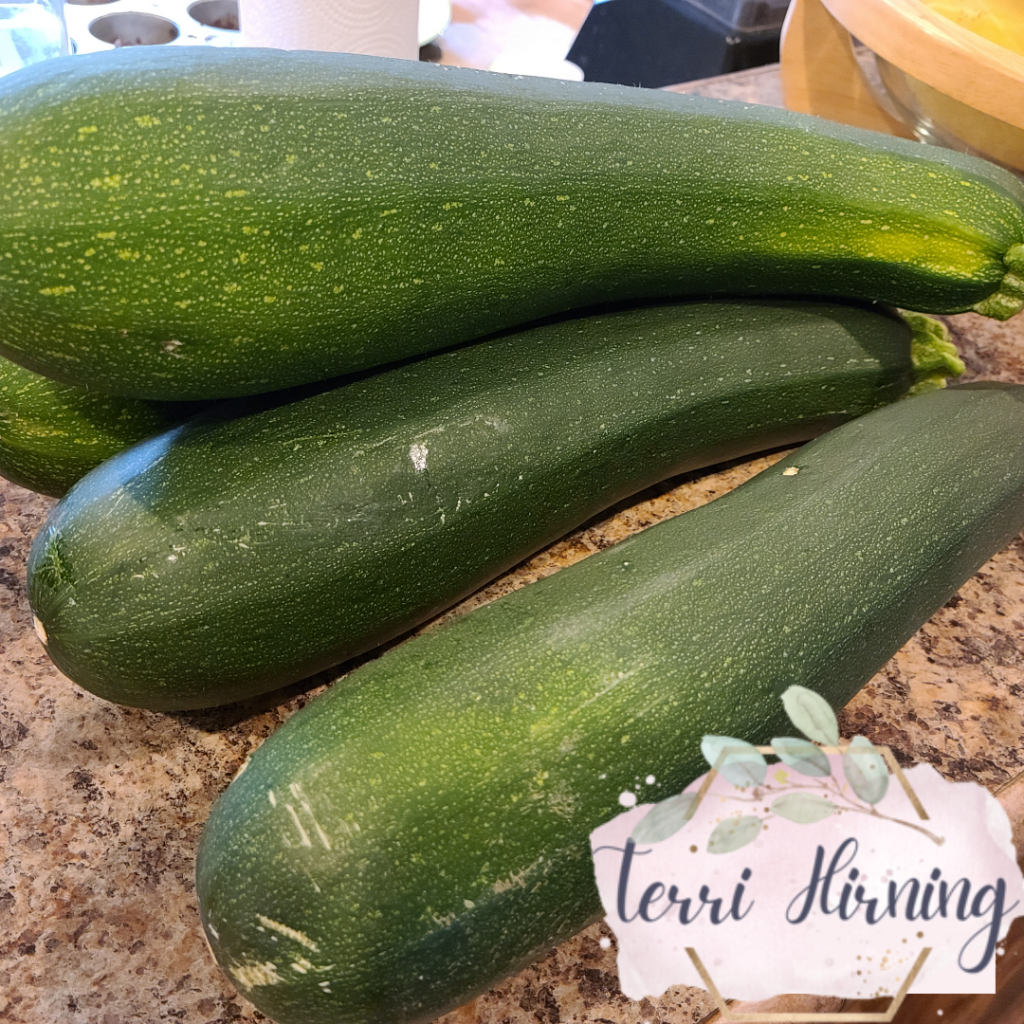
- 1 cup pumpkin purée (not pie filling)
- 3 large eggs
- ¼ cup coconut oil, melted (or avocado oil)
- ⅓ cup maple syrup or monk fruit sweetener
- 1 tsp vanilla extract
- 1½ cups almond flour
- ¼ cup coconut flour
- 1 scoop vanilla protein powder (plant-based or collagen)
- 1½ tsp pumpkin pie spice
- 1 tsp baking soda
- Pinch of sea salt
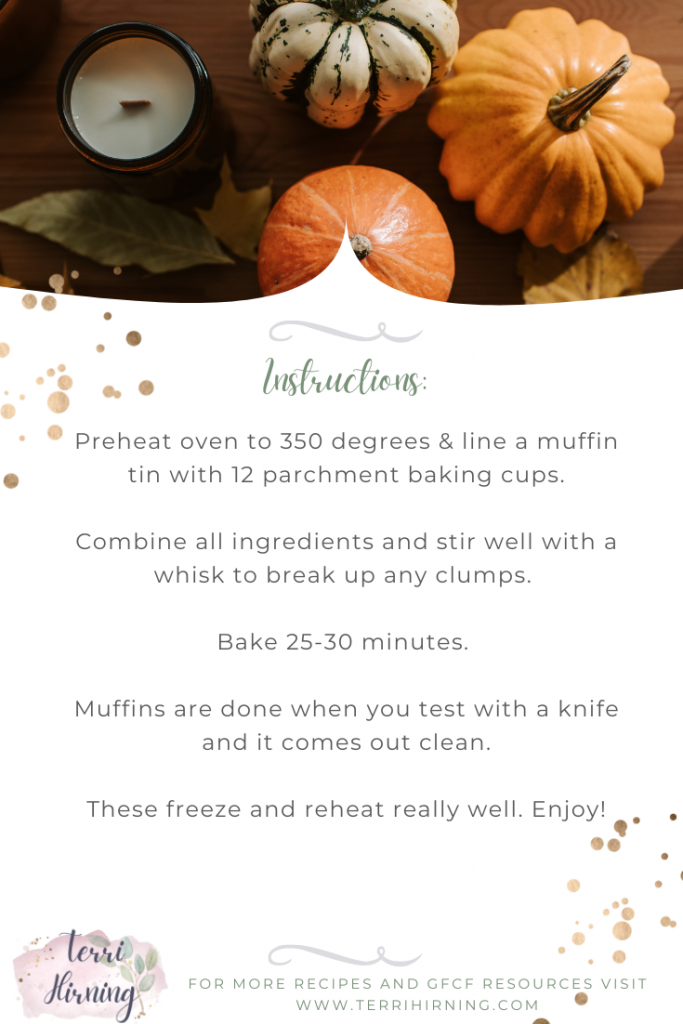
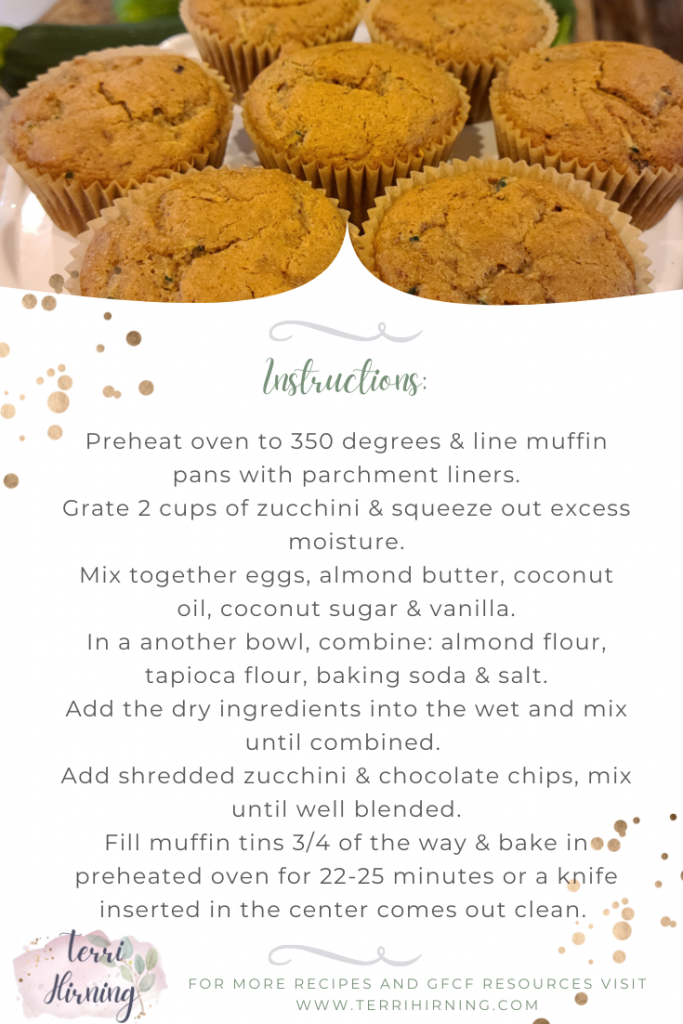
Instructions:
- Preheat oven to 350°F and line a muffin tin with paper liners.
- In a large bowl, whisk together pumpkin, eggs, oil, sweetener, and vanilla.
- Add in dry ingredients and stir until smooth.
- Scoop batter evenly into 10–12 muffin cups.
- Bake 20–25 minutes or until a toothpick comes out clean.
- Cool and enjoy! Store in the fridge up to 5 days or freeze for later.
Optional: Top with chopped pecans or a sprinkle of cinnamon before baking.
I hope you enjoy these muffins as much as we are!